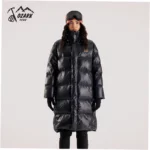

A 3 layer clothing system for winter isn’t three warm garments stacked together — it’s three jobs, each handled by one piece. I’ll be blunt: most people shiver in expensive gear because they bought three versions of the same warm thing. One layer moves sweat, one traps air, one blocks wind and wet. My broader guide to layering clothes for winter covers the full wardrobe logic; here I’m staying narrow and practical.
Table of Content
What Does a 3 Layer System Do?
Why the Base Layer Decides Everything
Your base layer has exactly one job: move liquid sweat off your skin before it chills you. Wool and polyester do it well; cotton absorbs water and holds it against you. Fit matters as much as fiber, since a baggy base layer cannot wick and a tight one restricts blood flow. Thin usually beats thick here, because a light merino tee dries while you are still moving.
My working test is simple: if I am comfortable wearing the base layer alone indoors for twenty minutes, the weight is right. Anything heavier and you are damp before the mid layer gets a chance to insulate. On multi-day trips, thin merino also resists odor better than polyester, which is why long-distance hikers often carry two thin tops instead of one thick one.
Mid Layer: Where Warmth Is Actually Made
The mid layer traps still air, and trapped air is what keeps you warm. Fleece, wool sweaters, and light synthetic puffies create that dead space through loft. Match loft to output: fast hiking wants a breathable grid fleece that dumps heat, while standing at a cold trailhead rewards a puffier piece. Breathability here matters more than the label stitched on the sleeve.
One honest limitation: a thick mid layer that cannot vent will soak you from the inside. Mesh-lined fleeces and zippered chest pockets exist for exactly that reason. If you sweat heavily, choose a mid layer you can open, and treat warmth as something you tune all day rather than something you settle once at the front door.
Shell Layer Truths Most People Miss
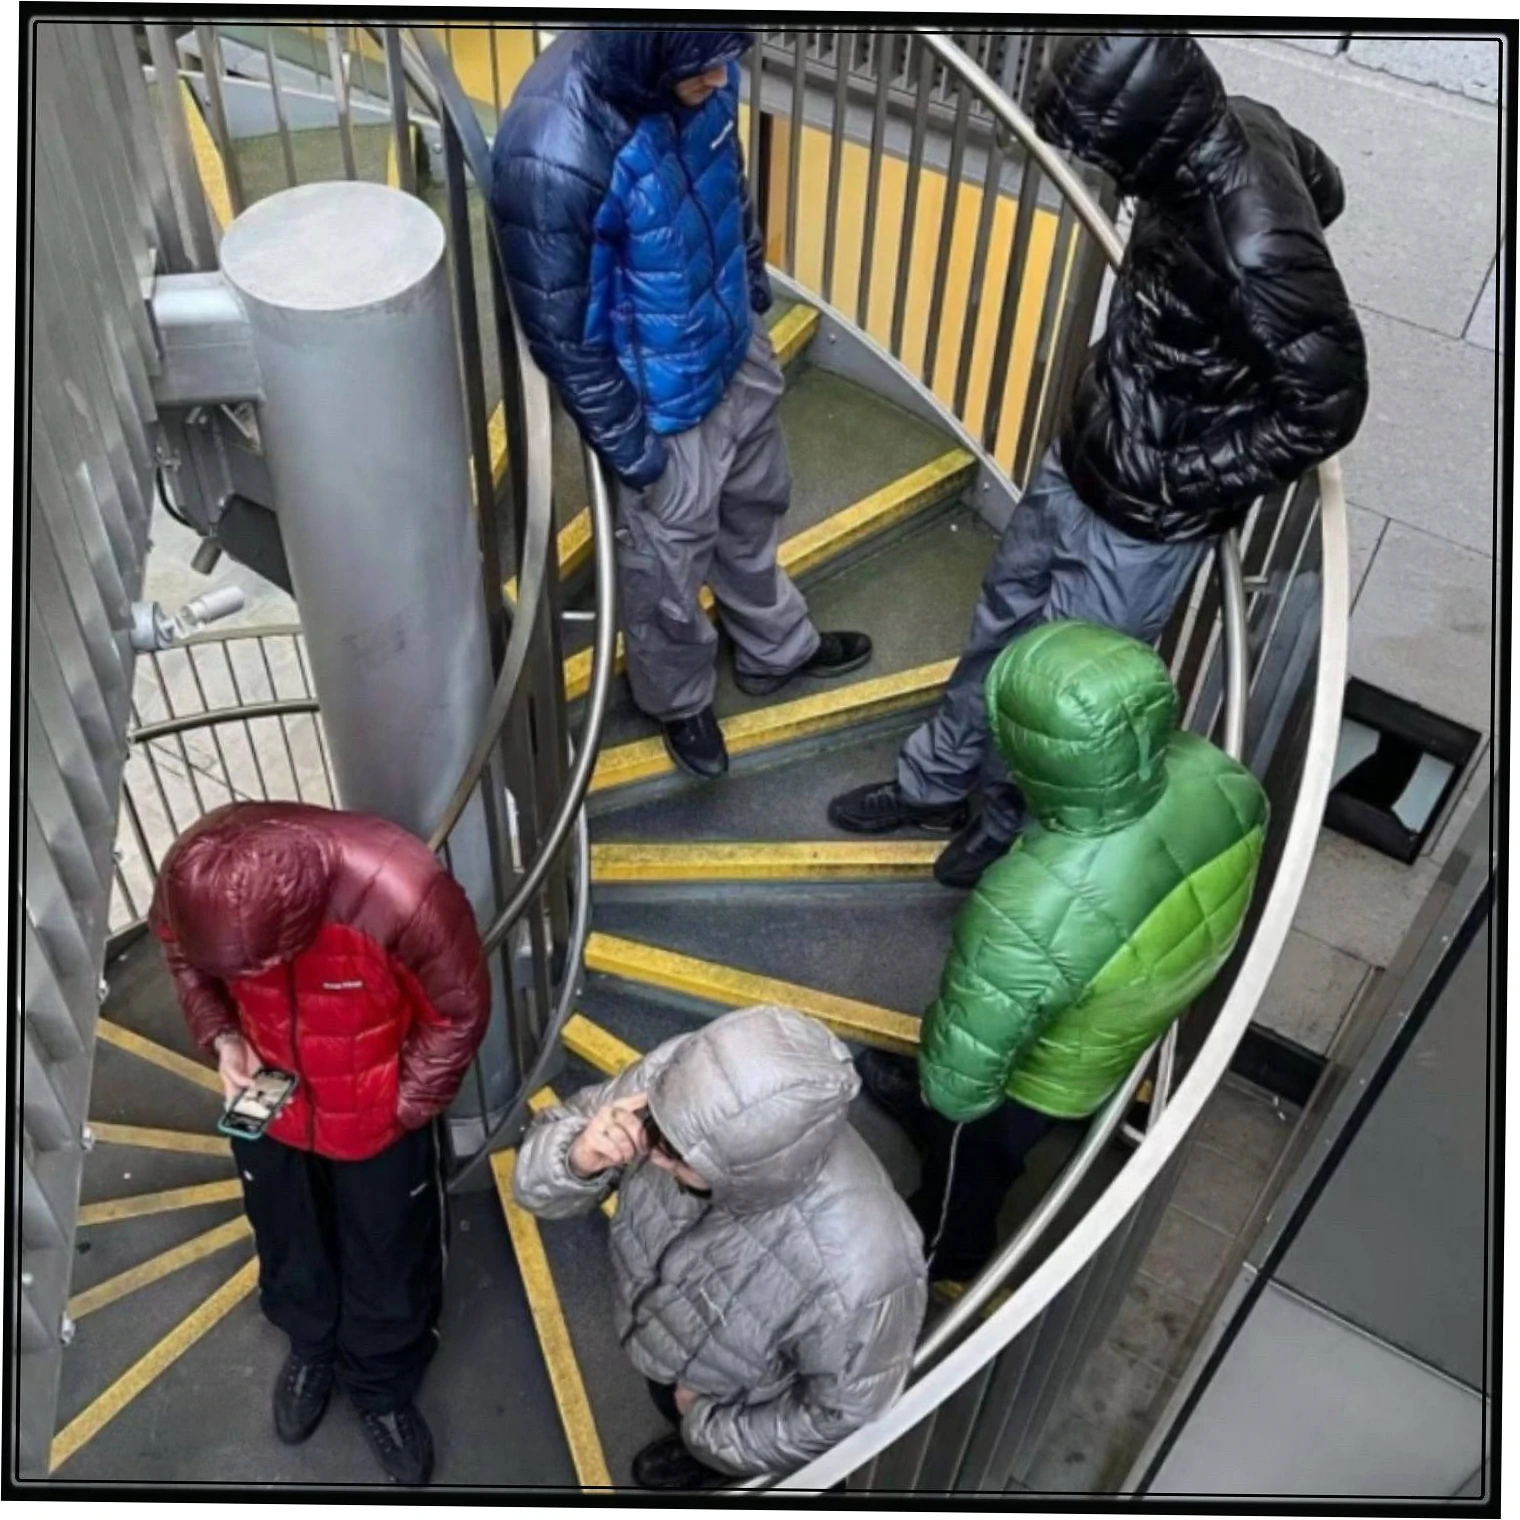
The shell blocks wind and precipitation, and wind is the sneakier enemy. A 90-gram wind shirt can change how a two-layer setup performs on an exposed ridge, which is why so many lightweight winter kits carry one. If you choose a waterproof shell, insist on pit zips or venting pockets, because a sealed shell becomes a plastic bag on a climb.
| Layer | Primary job | Typical materials | Common failure |
|---|---|---|---|
| Base | Move sweat away from skin | Merino, polyester, silk blends | Cotton holding moisture |
| Mid | Trap air for insulation | Grid fleece, wool sweater, light puffy | Compression and poor venting |
| Shell | Wind and wet protection | Wind shirt, hardshell, softshell | Condensation inside a sealed jacket |
3 Layer System vs One Heavy Parka
Where the Three Layers Win
A single heavyweight parka is simpler, cheaper upfront, and nearly foolproof for short trips: you put it on, you are warm, you take it off indoors. The three-layer approach wins whenever you are moving, because you can shed the shell or the mid layer as your body heats up instead of sweating through one giant insulated mass.
Thermoregulation is the entire argument. Your heat output can swing enormously between walking and standing, and no single garment tracks that. Three layers give you three adjustment steps, usually enough for a day that starts near 20°F and ends near 40°F. Anyone who has soaked a down parka at lunchtime understands the cost of that mismatch.
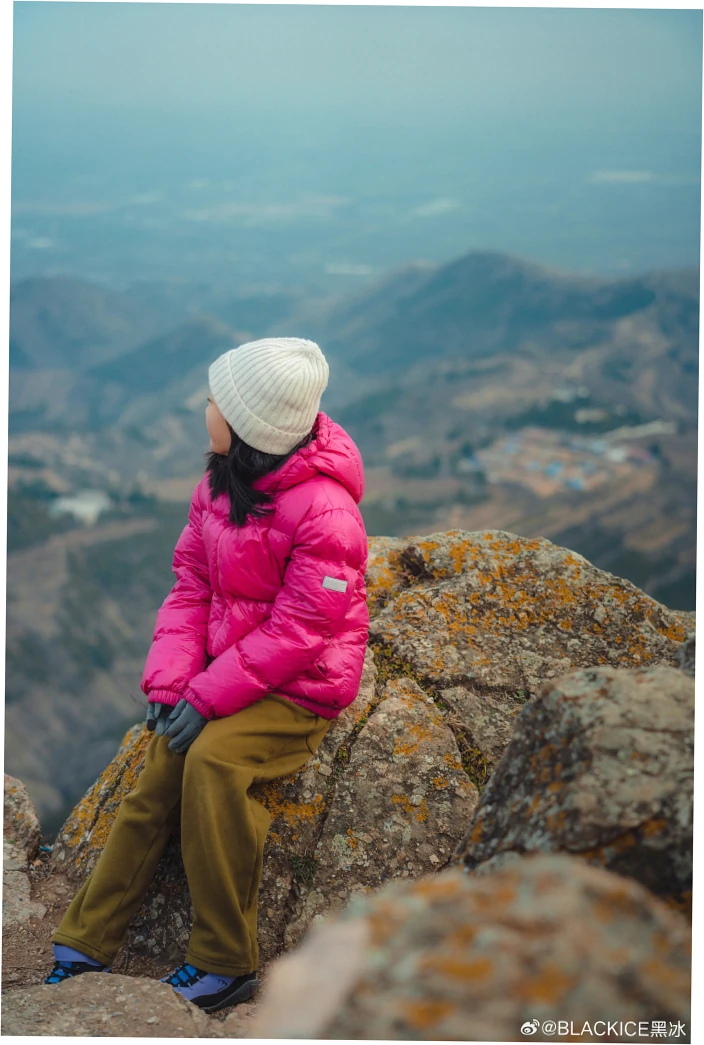
Numbers make the point. Insulation is measured in clo, where one clo roughly equals a business suit. A competent three-layer winter kit lands somewhere around two to three clo, and walking can multiply your metabolic heat output compared with standing still. That ratio, not the brand, explains why the same outfit feels perfect on the move and freezing at a bus stop.
When One Big Layer Makes Sense
For a fifteen-minute commute, a single insulated coat is genuinely better gear. It is faster, it tolerates sloppy packing, and it does not ask you to think. The three-layer system earns its keep when you will be outside for hours, when temperatures swing, or when your day alternates between moving and waiting in line.
Cost is the other honest argument. Three quality pieces usually cost more than one parka, though a fleece, a wind shell, and a light down jacket can be assembled for less than a premium expedition coat. Cheaper layers also fail one at a time, so replacing a worn fleece hurts far less than replacing a six-hundred-dollar jacket mid-season.

Adding a Fourth Layer in Deep Cold
Below roughly -15°F, the three-layer template starts asking too much of each piece. That is when an extra insulating layer — a heavier puffy, a second fleece, or an insulated vest — makes more sense than a thicker shell. Layering for extreme cold is mostly about adding independent insulation, since compressing loft to fit under a shell destroys the warmth you paid for.
Community experience lines up with that. Plenty of people who live through real winters quietly run a four or five piece stack: thin merino, a button-down or midweight wool, a light down jacket, sometimes a fleece, and a wind shell. They are not overcomplicating anything; they are buying adjustable range for mornings that begin at -30°F and warm to 10°F by afternoon.
| Claim or standard spec | Real-world feedback | Practical takeaway |
|---|---|---|
| Three layers handle all winter conditions | Many people in genuine deep cold add a fourth insulating piece | Treat three layers as a template, not a ceiling |
| Any mid layer adds the same warmth | Non-breathable fleece leaves wearers damp and chilled | Prioritize venting over raw thickness |
| More layers equal more warmth | One lofty puffy outperforms several thin layers of equal weight | Add loft, not just fabric count |
| Down is always the warmest option | Compressed or damp down loses loft fast under a tight shell | Size the shell so the puffy stays puffy |
| A snug fit keeps heat in | Air pockets between layers do the insulating | Leave room, especially at socks and shoulders |
Which Layers Fit Your Winter Routine?
Commuting, Waiting, and Static Cold
Static cold is the hardest test, because you generate almost no heat. Someone waiting on a platform needs a warmer mid layer than the same temperature would demand on a brisk walk. Add a windproof shell even on dry days, and pick a mid layer long enough to cover your hips, since drafts find every gap.
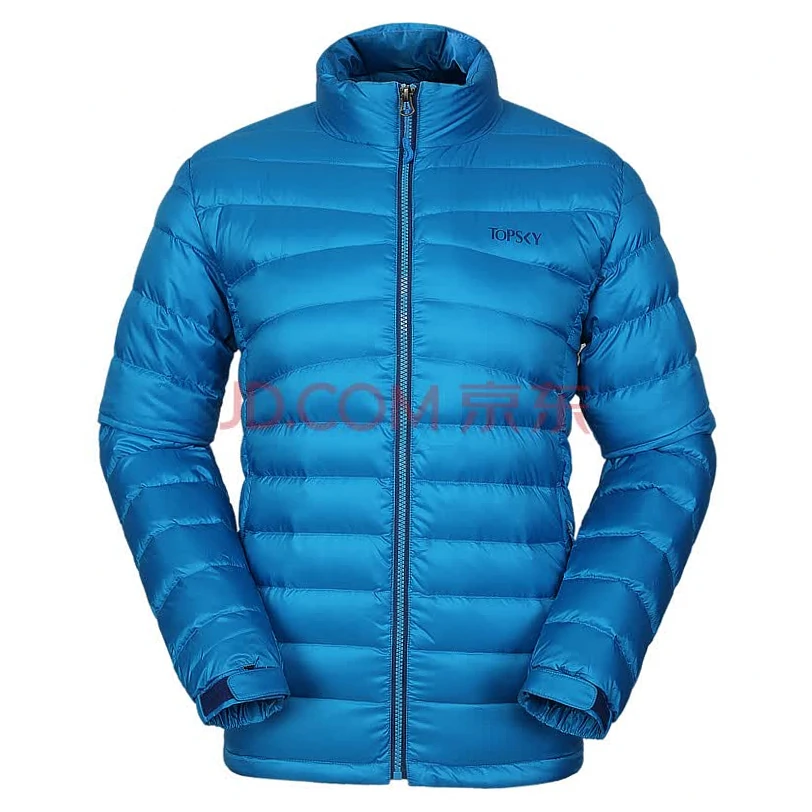
For long winter evenings outdoors, an insulated vest under the shell is the cheapest upgrade you can make. It protects your core without restricting your arms, and it converts the same three garments into something approaching a four-layer kit. That is also why the office-to-street version works so well: base layer, cardigan, wind shell, with the shell stripped off the moment you are indoors.
Hiking, Skiing, and High-Output Days
Moving uphill, you want a thin base layer, a breathable fleece, and a shell that lives in your pack rather than on your back. Expect to feel slightly cool for the first ten minutes; that is correct, not a mistake. Skiers who brake downhill need the insulated jacket again, so the same three layers simply get reordered through the day.
Stop for lunch and your heat output collapses within minutes. A puffy layer that never leaves the pack is the real fourth element of any active three-layer kit, and warm food matters as much as fabric choice for staying functional. Test your own sequence on short trips before you trust it on a long one, because individual sweat rates vary enormously.
Feet, Hands, and Head Count Too
Your torso can be perfectly layered while your feet freeze solid. Socks work like any other layer: one roomy pair inside a boot with space to spare beats two cramped pairs that restrict circulation. Thin silk or synthetic liners under wool socks are a long-standing hiker trick, and loose laces on the coldest days make a measurable difference.
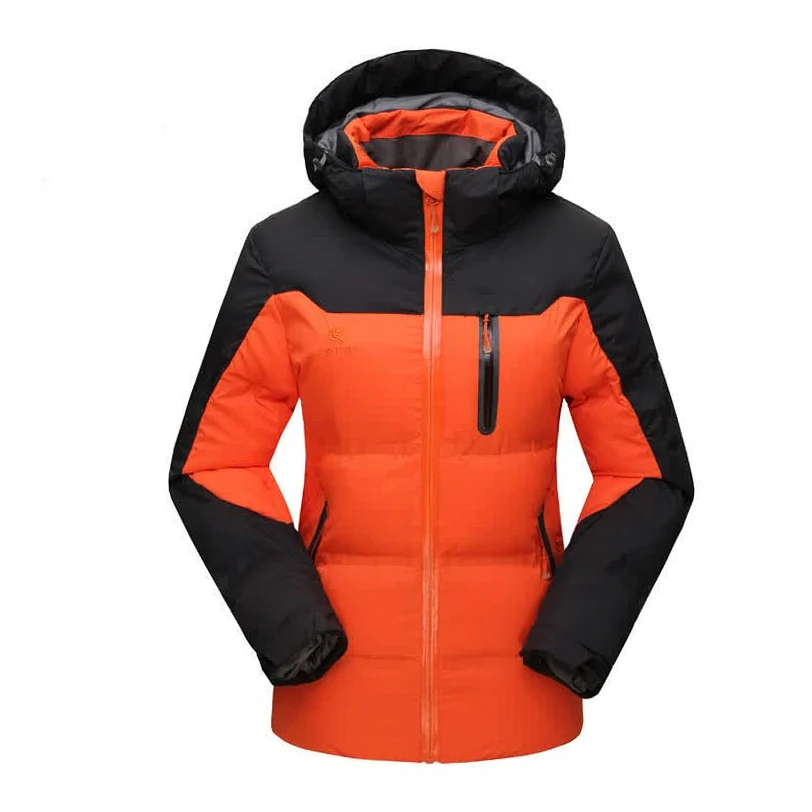
Heat also escapes through an uncovered head and neck. A wool beanie and a neck gaiter often buy more comfort than another torso layer, and mittens beat gloves once fingers stop working. None of this is exotic gear advice; it is the boring half of winter comfort that most layering articles skip entirely.
| Situation | Base layer | Mid layer | Shell |
|---|---|---|---|
| Walking the dog, 25°F to 40°F | Light merino tee | Light fleece | Wind shirt in pocket |
| Commuting, waiting outdoors | Midweight synthetic | Fleece plus vest | Worn windproof shell |
| Hiking or snowshoeing | Thin synthetic or merino | Grid fleece, vented | Carried, used at breaks |
| Below 0°F, low activity | Midweight merino | Fleece plus light down | Insulated or hardshell |
Why 3 Layer Winter Systems Fail
Sizing Mistakes That Kill Trapped Air
Air is the insulation, and you can squeeze it away without noticing. If your mid layer is skin-tight against the base layer, or your shell compresses your puffy at the shoulders, loft collapses and warmth drops. Look for a mid layer you can pinch an inch of fabric on, and a shell that slides over it without pulling.
The same logic applies to footwear. Two tight sock pairs restrict blood flow and leave feet colder than one roomy pair in a boot with wiggle room. Loosen the laces on the coldest days, and remember that thick socks only work when the boot was sized to accommodate them in the first place.
Sweat, Cotton, and Condensation Traps
Damp insulation loses most of its warmth, and drying takes far longer than people expect. Unvented shells and non-breathable fleece trap sweat next to your skin; soaked down loses loft quickly and clumps. Wool and synthetics handle moisture better, though nothing performs well if you keep your shell zipped while climbing hard.
Cotton earns its bad reputation honestly: it absorbs water, holds it, and conducts heat away from skin. For a walk from car to door, cotton is fine. On anything long enough to make you sweat, swap it for wool or synthetic. That single change fixes a surprising number of complaints about jackets that supposedly do not work.
Why More Layers Isn’t Warmer
Stacking several thin base layers rarely matches one lofted piece of the same weight, because each thin layer compresses the one beneath it. Practical experience matches the physics here: a single synthetic puffy outperforms the same weight of base layers piled on. Use extra garments to widen your comfort range, not to substitute for real insulation.
Too many layers also create a wet-out spiral. You overheat, you sweat, then you chill the moment you open the shell and stop moving. There is a practical ceiling around three to five functional layers, after which you are mostly carrying weight. Rest, eat something, and start moving again before you add another jacket.
| Mistake | Why it fails | Fix |
|---|---|---|
| Tight mid layer and shell | Compresses loft and removes air pockets | Size up one step in the mid layer |
| Cotton base layer | Holds moisture against skin | Switch to merino or polyester |
| Sealed shell with no vents | Traps vapor inside the system | Choose pit zips or a wind shirt |
| Adding layers instead of managing output | Overheating leads to sweating and chilling | Vent, slow down, or remove a layer |
| Ignoring head, hands, and feet | Peripheral heat loss dominates comfort | Beanie, mittens, roomy socks |
How to Build a 3 Layer Kit
A Decision Path by Temperature
Start with the base layer: thin merino or synthetic above 10°F, midweight below it. Add a fleece or light puffy for the 10°F to 30°F band, and carry the shell for wind, wet snow, or exposed ground. Below zero, plan on heavier insulation and treat the shell as protection rather than warmth.
Then test the whole kit in your own yard before you trust it anywhere else. Twenty minutes standing still tells you more than any product page, because it exposes exactly where your setup loses heat. Feet, hands, and head are the usual leaks, so fix those before you buy a warmer jacket.
Budget vs Performance Choices
You do not need premium fiber in every slot. A budget synthetic base layer handles day trips fine; put your money into the mid layer’s breathability and the shell’s wind resistance, because those are the pieces you feel most. Buy merino on sale, and treat a down jacket as a mid layer rather than as armor.
Durability splits by how often you wear each piece. Something touching your skin thirty days a season wears out faster than a mid layer worn twice a month, so investing there is rational. Wash wool cold and air dry it; synthetic fleece takes abuse but pills over time.
Testing Your System Before Winter
Take a shakedown walk in the coldest local weather you can find, wearing everything you intend to carry. Adjust the fit, note where you sweat first, and record the temperature at which you finally needed the shell. That one hour gives you calibration no spec sheet can provide, and it costs nothing but time.
Write it down: base layer, mid layer, shell, temperature, comfort. Within a season those notes become a personal layering chart that outperforms generic temperature tables, and they will tell you honestly whether you need a fourth layer or just a better-fitting shell.
3 Layer Winter System FAQ
Is a 3 layer clothing system for winter warm enough at 0°F?
For most people who are moving, yes, provided each piece does its job: a midweight base layer, a substantial fleece or light down mid layer, and a windproof shell. Standing still at 0°F is a different problem, and you will likely want an insulated vest or a heavier mid layer. Cold tolerance varies widely, so treat this as a starting estimate and calibrate on real outings.
Should I add a fourth layer or buy a warmer jacket?
Add a layer first. A fourth insulating piece — a vest, a heavier fleece, or a light down jacket — costs less than a new parka and keeps your system adjustable. Only buy a warmer outer jacket when you need protection in sustained wind and wet, not simply more warmth on a calm cold day.
Is cotton really that bad as a winter base layer?
Cotton is fine for brief exposure and low sweat output, like walking to a car. It becomes a liability when you sweat or get wet, because it holds moisture against your skin and cools you rapidly. Wool and synthetics dry far faster and stay comfortable across a wider range of effort levels.
How tight should a mid layer be?
It should sit close enough to stay in place but loose enough to trap air. If you cannot pinch an inch of fabric away from your base layer, it is too tight. The same applies to your shell, which must fit over the mid layer without compressing the loft underneath it.
Can I use the same three layers for hiking and commuting?
Often yes, with one change: carry the shell and swap the mid layer weight. Commuting rewards warmth while you are static; hiking rewards breathability while you are moving. A vented fleece plus a carried shell covers both, and an extra puffy in the pack handles long rest stops.
Is merino worth the price over synthetic base layers?
Merino wins on odor resistance and comfort across temperature swings, which matters on multi-day trips. Synthetics dry faster and cost less, which suits day use and heavy sweating. Many people own both and choose by trip length rather than brand loyalty, which is a reasonable and evidence-based approach.
What are the limits of a three-layer approach?
A three-layer system does not fix poor fitness, wet conditions, or inadequate food and water intake, and it is not a substitute for proper trip planning. Extreme cold, high wind, and long static periods may require more insulation than three pieces provide. Always carry a margin, and never treat clothing alone as your safety strategy.